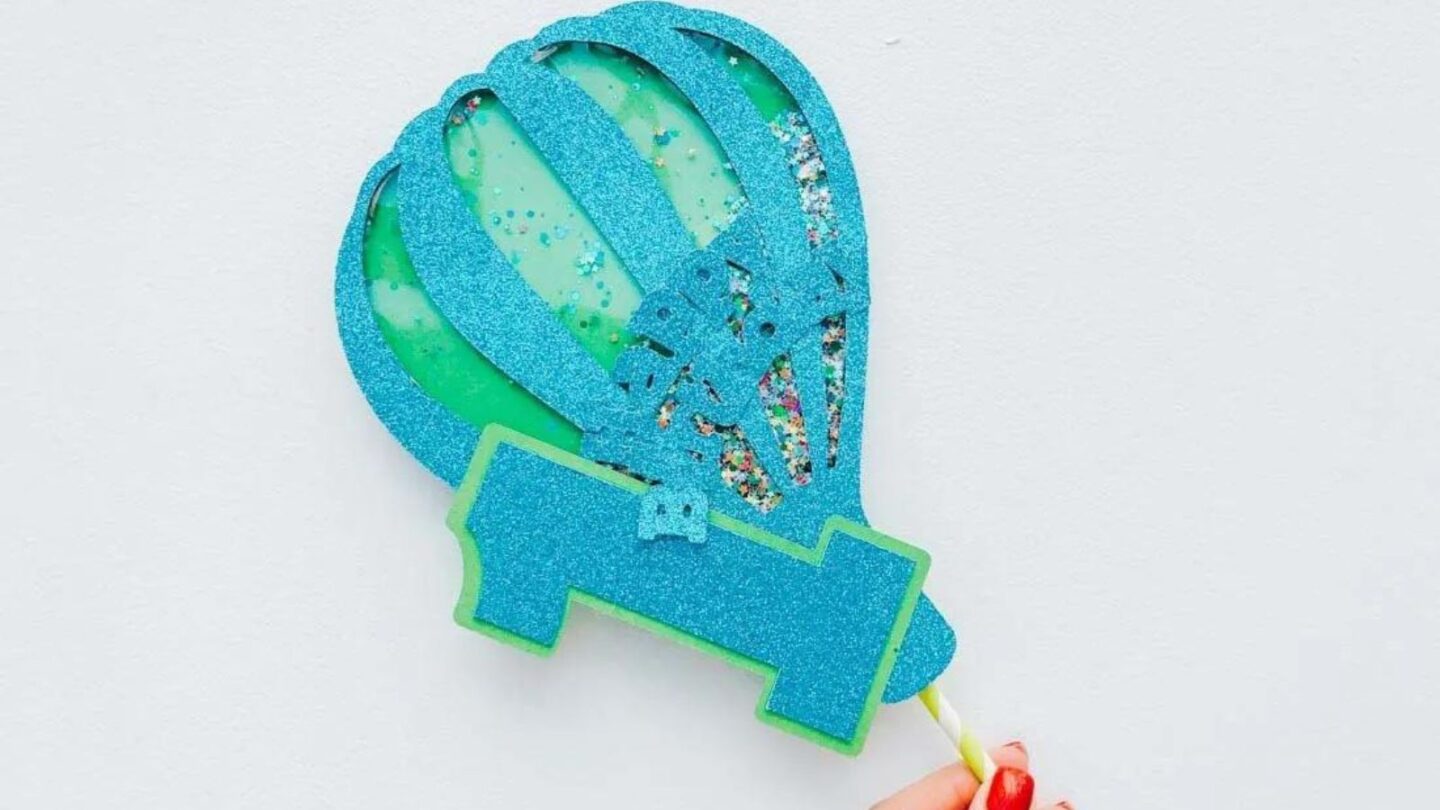
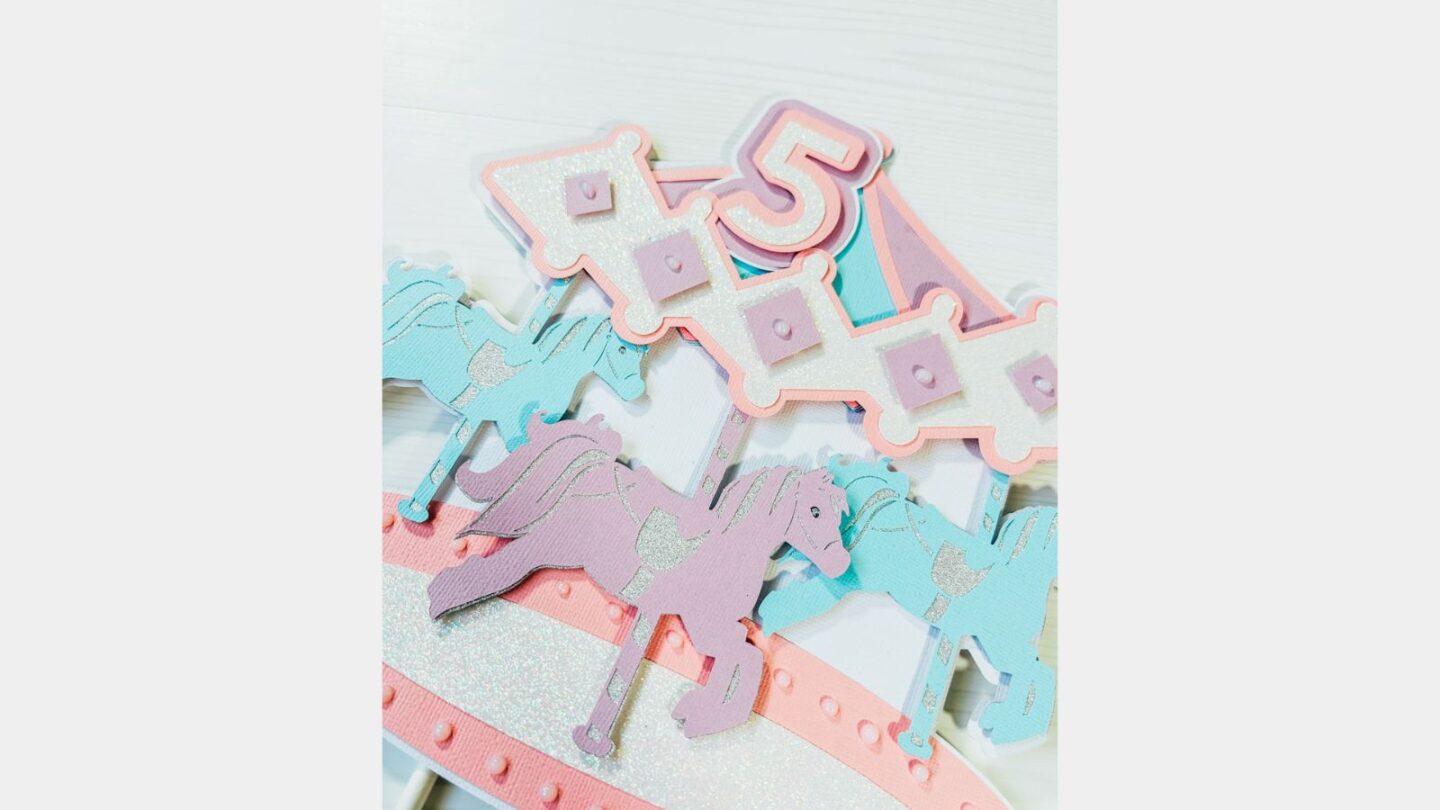
Who doesn’t love a Carousel? They are the thing of fairytales, Disney movies and all things glittery and sparkly. Thus, with the help of the gorgeous Caro from the Listed Home, who helped me out by drawing these gorgeous carousel horses, we bring you a layered merry-go-round cake topper.
Of course, you can also use this adorable carousel for cards, party decorations and wall art. But it looks at its most majestic adorning a birthday cake.
AD | We have been or could be if you click on a link in this post compensated via a cash payment, gift or something else of value for writing this post. As an Amazon Associate and Stay 22 we earn from qualifying purchases. See our full disclosure policy and privacy policy for more details.
You Will Need
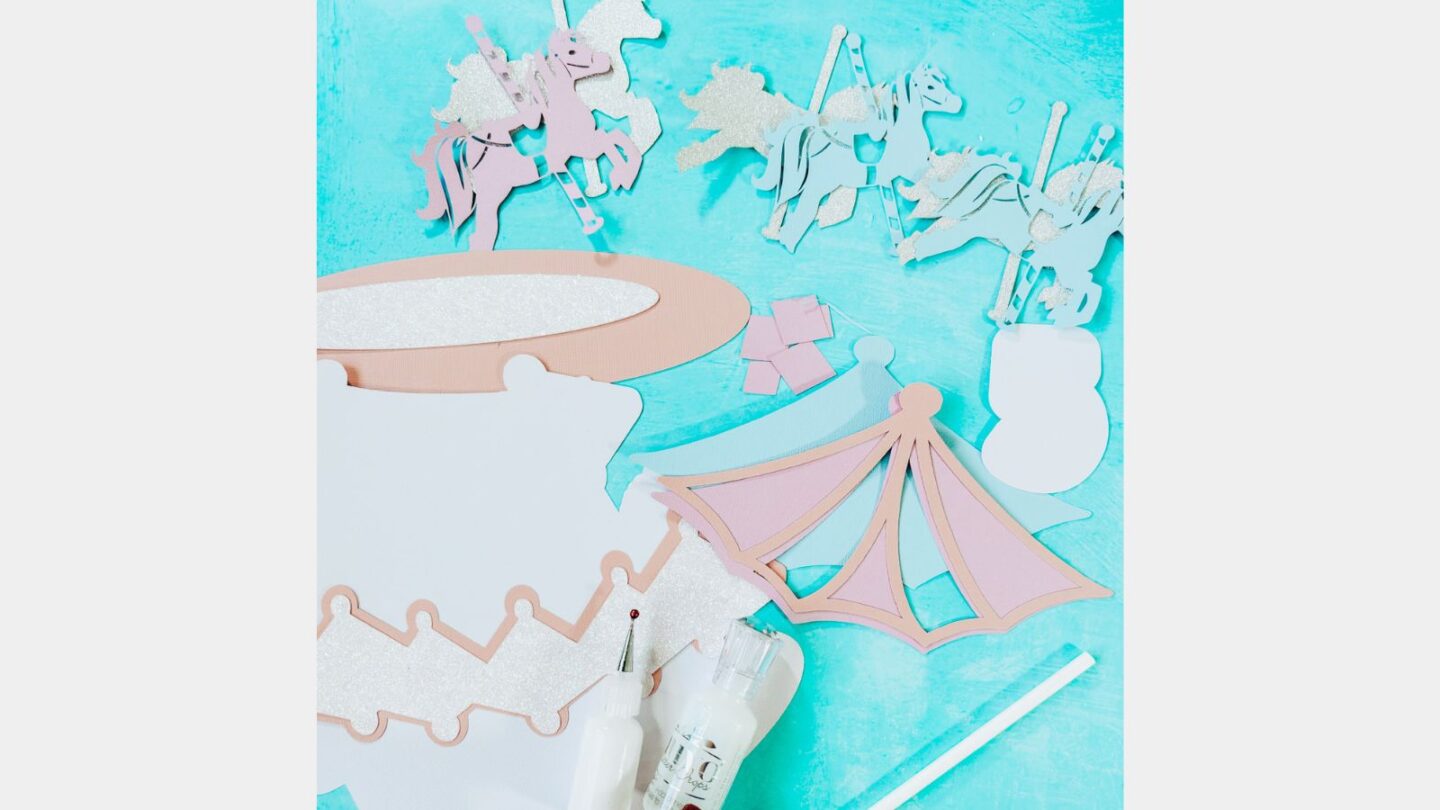
- Cricut Maker 2, Cricut Explore Air, Cricut Joy Or Silhouette
- Cricut Design Space
- Cutting Mat
- Plain and glitter card stock, the colours are a personal choice, but I used white, blue, lilac and pink cardstock, white and silver glitter card.
- Tonic Studio Neuvo Dots (Optional)
- Brayer and weeding tools
- Double sided sticky pads
- Cosmic Shimmer Acrylic Glue
- Two straws
- Cake topper SVG files
What You Will Find in Your Carousel Cake Topper SVG
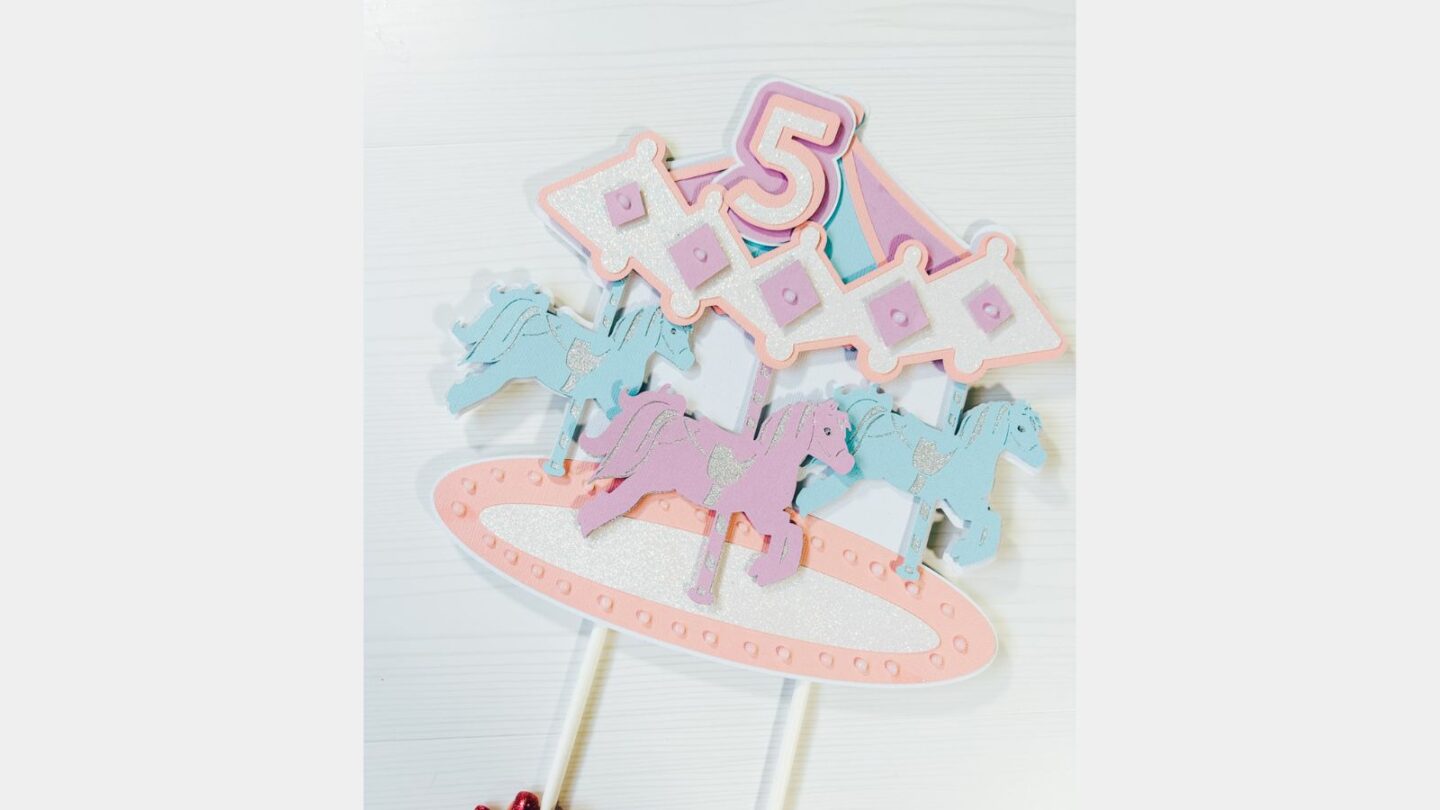
- 1 Horse and one horse, back layer (Duplicate these layers as many times as you want. I used 3 horses)
- Carousel roof, 3 layers
- Carousel roof trim, two layers and a diamond (Duplicate the diamond five times; I made the end two diamonds slightly smaller.)
- Roof Back Layer
- 2 Floor layers
- 1 Back layer
What Colour to Cut Your Carousel Layers
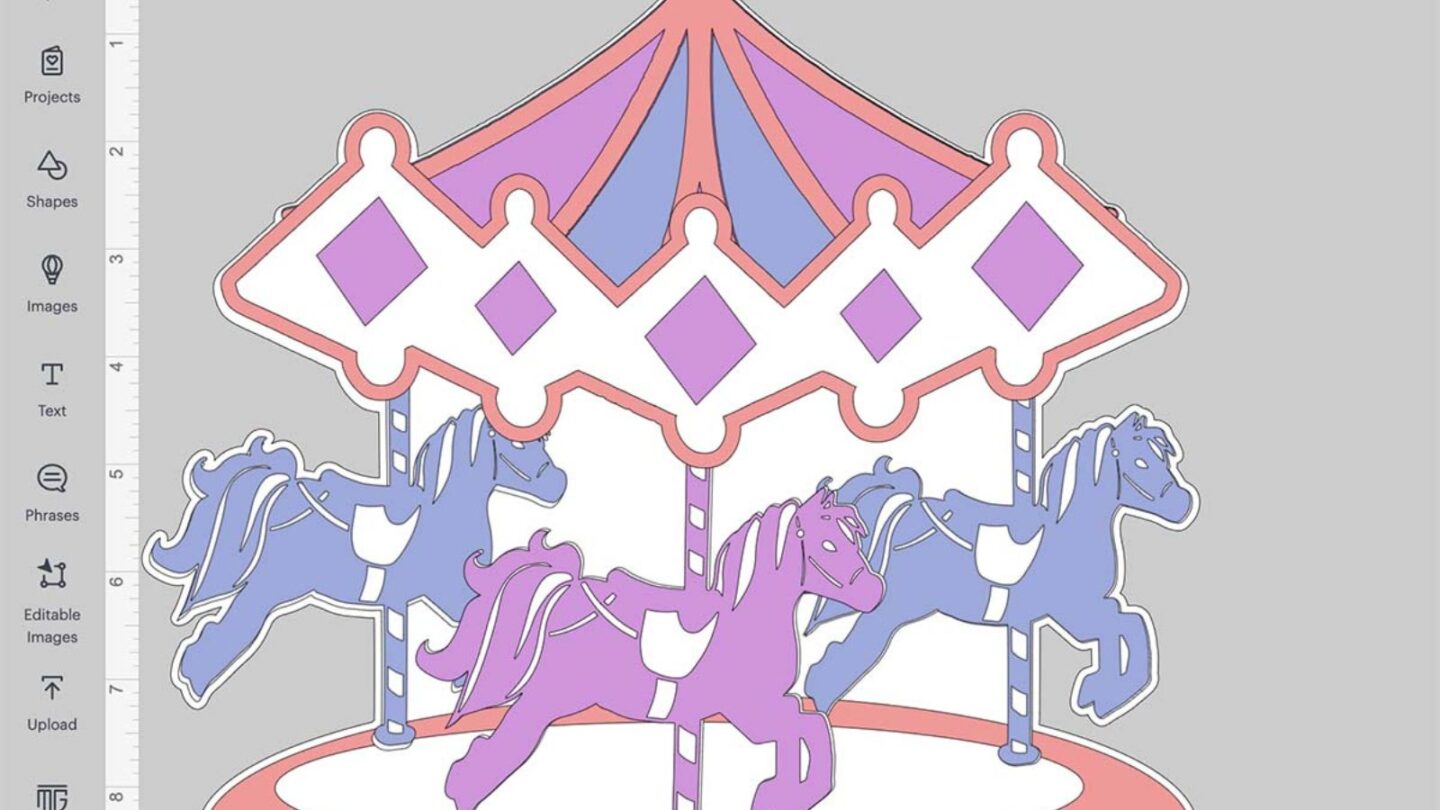
This is a personal choice; I worked with four colours and two glitter layers. Be sure to use the correct colour in Cricut Design Space as it helps to visualise the project.
- Roof, Pastel pink, lilac and blue
- Roof trim pink, white glitter and lilac
- Horses’ silver glitter back, horse fronts, 1 lilac and two blue.
- Base, pink and white glitter.
How To Add an Age or Personalise Your Cake Topper
In Cricut Design Space upload all the elements and align them up, check out the links below for help with uploading to Cricut Design Space.
Now, type a number or name, choose a colour and size it to sit on the carousel’s roof. create two offsets and colour them to match the colour scheme of the carousel SVG cake topper. Now right-click and group. You can now drag it onto the carousel check it’s in proportion and send the project to cut.
To Build Your Carousel Cake Topper
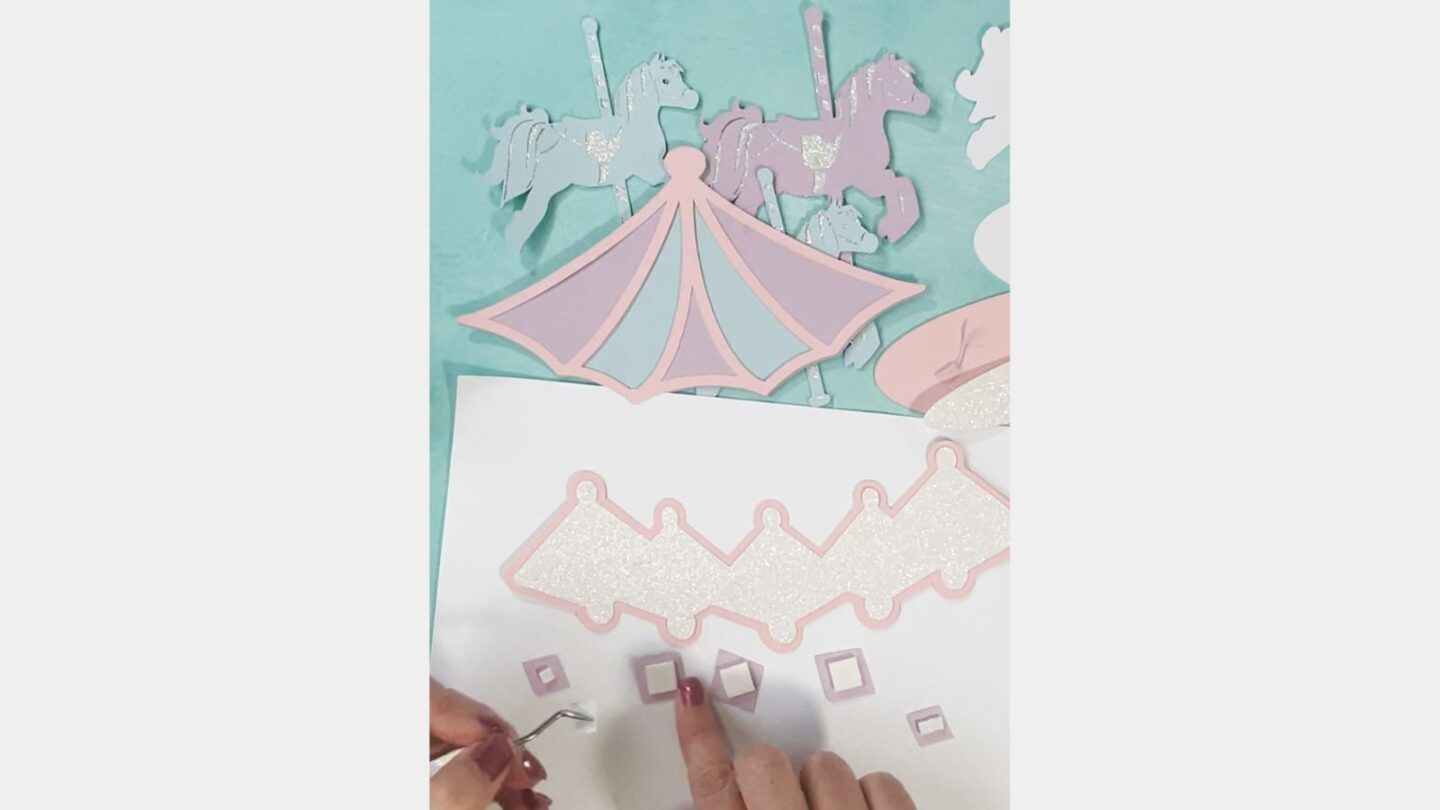
Start by attaching the horses to the horse back with glue. Next, build the three layers of the roof with glue. Then, build the two pelmet layers with glue. Now add the diamonds using sticky pads, so they stand out.
Glue the two-floor layers to the back layer, and add the roof with sticky pads. You can now add the horses with sticky pads, ensuring the top of the poles go under the roof.
Add Straws To The Back
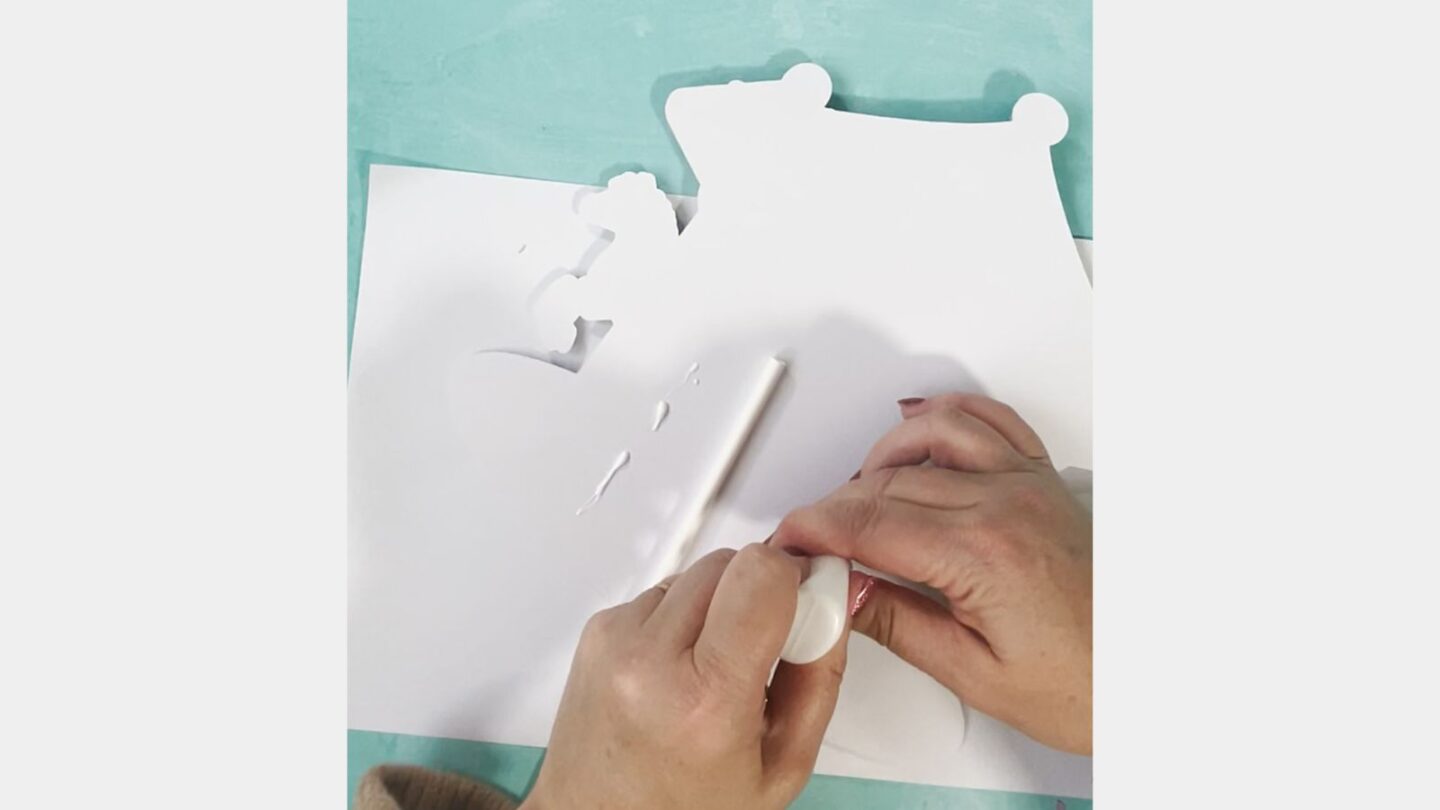
Use Nuvodrops to decorate and let them dry before turning over and glueing two straws to the back of the cake topper.
How To Get Our Free SVG Files
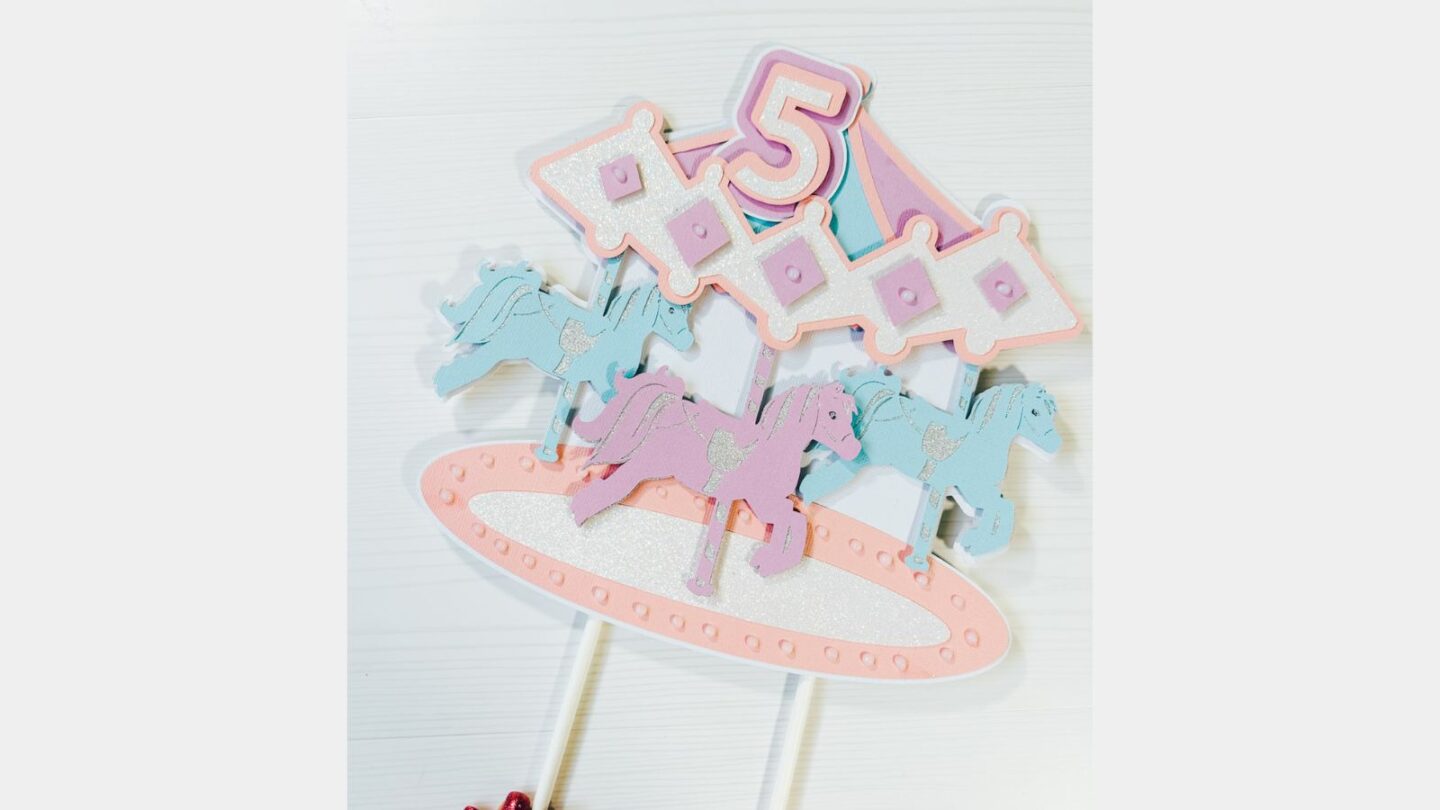
Download our free Carousel Cake Topper SVG/PNG cut file from the shop.
How To Make Print and Cut Stickers on Cricut
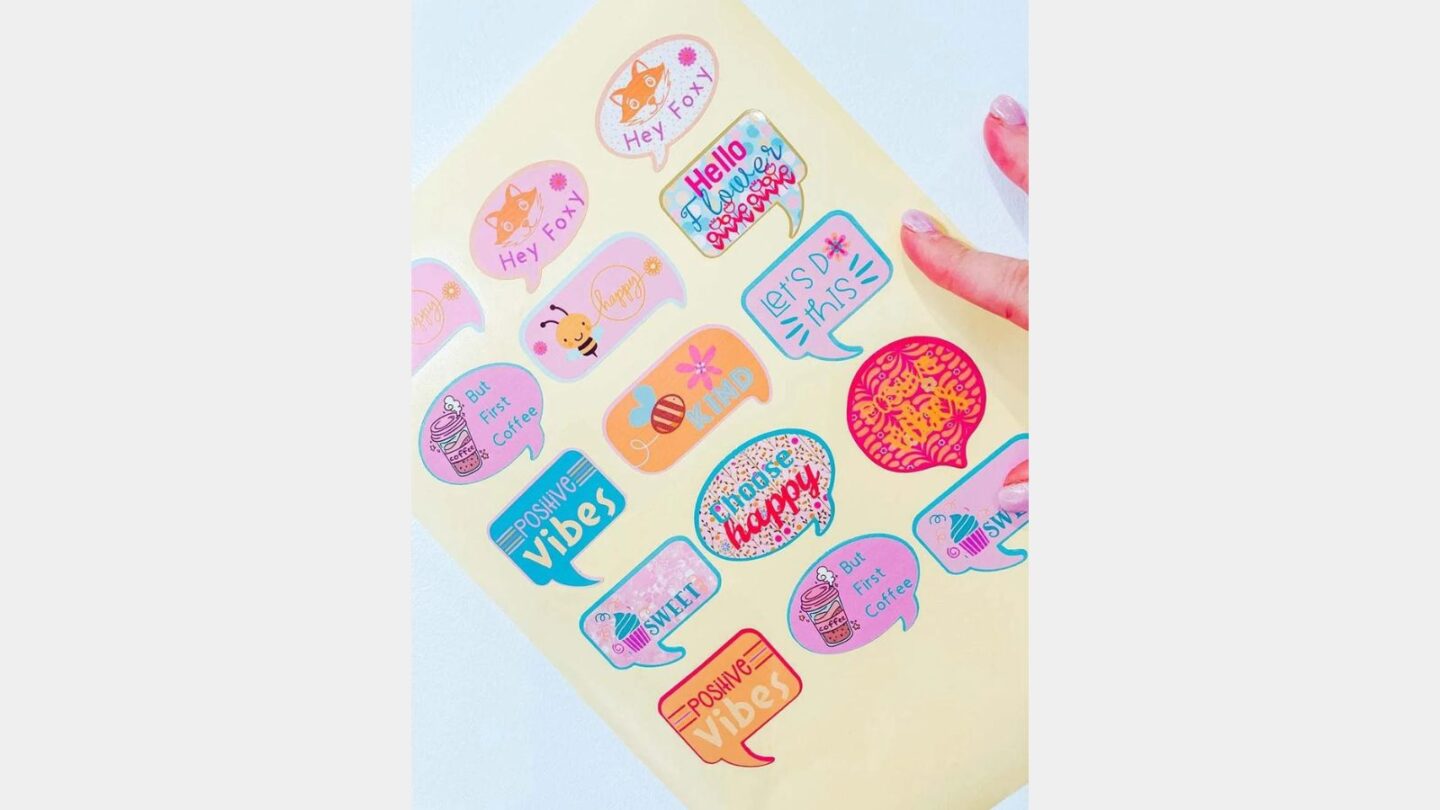
I will show you step-by-step how to make your own custom stickers in design space and take you through how to get Cricut Print Then Cut right.
Where to Get Free SVG Files For Cricut