You are home from your trip, and your family memories are on your phone. At first, you scroll through, lovingly reliving all those fantastic family memories. But as life moves on, the memories move further up in your phone album, and you see them less. They become almost mothballed, not to be seen often and only by you. However, there is another way to keep those memories alive.
As Mini Travellers celebrates its 10th anniversary, I wanted to create something for Karen and the family to mark the occasion. I am so proud to be a co-editor, but Mini Travellers is all about the adventures of the fab three, the Mini Travellers and their adventurous mum and dad, Karen and Matt. So I decided a photo book was in order to celebrate what they have all built together, here’s how to make An Amazing Holiday Photo Book.
AD | We have been or could be if you click on a link in this post compensated via a cash payment, gift or something else of value for writing this post. As an Amazon Associate and Stay 22 we earn from qualifying purchases. See our full disclosure policy and privacy policy for more details.

Ideas For Memory Photo Books
- Create a memory book for each trip
- Or create books for years, so 2024 in travel
- Create a personalised travel journal before your trip with spaces to pin photos and write memories
- School days or Uni memories make great presents for school leavers
- Create a this is your life book for a special birthday
- Or an anniversary book
Tips to Make an Amazing Holiday Photo Book
1. Choose the Right Photo Book Platform
Choose a platform that is easy to use and offers a variety of templates and customisation options. I like to choose sizes, shapes, and layouts as my base, and then I build on that. You need to decide if it will be a coffee table book, something to fit on a shelf, or add to a collection. Just like with creating a CV, using different CV templates can help you tailor your resume to best highlight your qualifications and make a strong impression.
We love MyPicture.co.uk as it’s perfect for creating custom albums. It’s easy to use and gives a lot of options to really make your photo book your own.

2. Curate Your Photos
Before starting, sort your photos by date, location, or event to make the creation process smoother. I build them in a folder on my computer before uploading them to the platform. Choose high-quality photos that best represent your trip, multiple trips, or even years, but don’t forget the candid moments and silly pictures, these are the ones that will make you smile in years to come.
Once you are happy with your choices, upload them by dragging them into the photo editor. Check the button that hides photos you have already used,this prevents duplicates. This also makes searching easier if you can’t see pictures you have already used.
3. Tell a Story
Arrange your photos in chronological order to narrate the journey from start to finish. Add locations, years or trip notes to evoke special memories. Include key moments such as in the airport loung, on the plane, arrival, major landmarks, cultural experiences, and special encounters. All those memories will take right back to your trip. But also help others really get a feel for your journey.
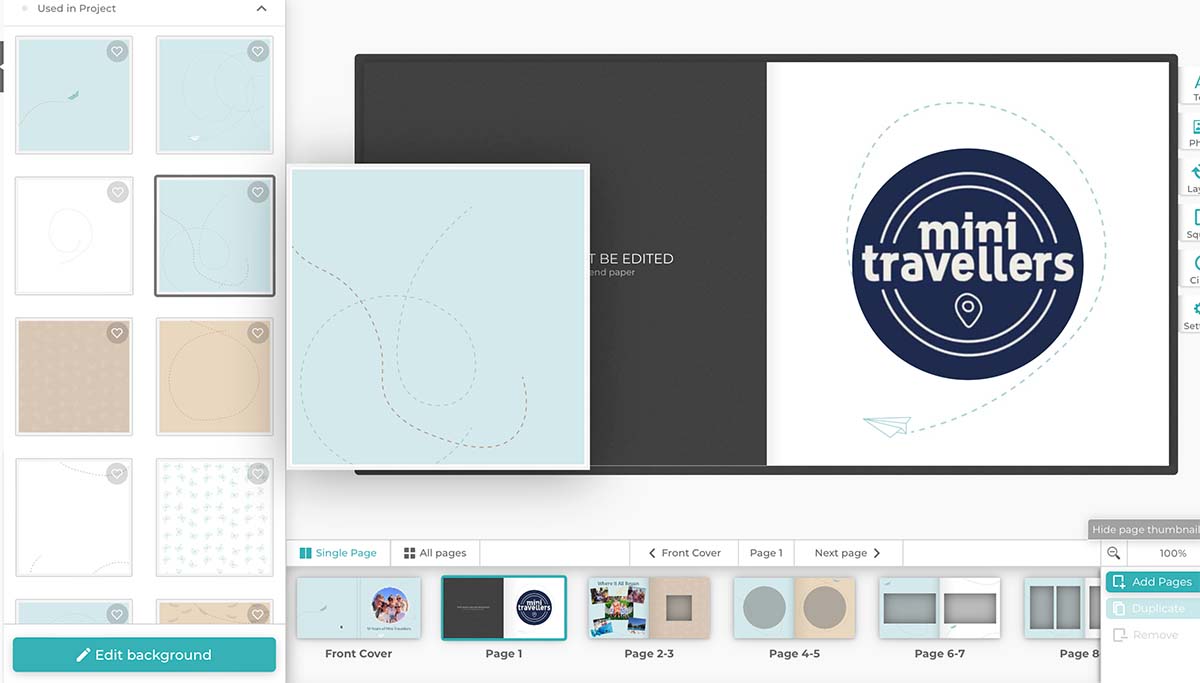
I started by choosing a cover image that sums up the whole book. Then, as it was a blog memory book, I found all the logos over the years. I used the current logo on the front page and compiled logos on the back page. With any photo memory book, it’s great to share progress and how things have changed.
For families, this could be homes throughout the years, cars, toys and fashion. I know these are materialistic things and not activities that we don’t necessarily photograph. But in years to come, these details will be important, as we will want to remember all the details.
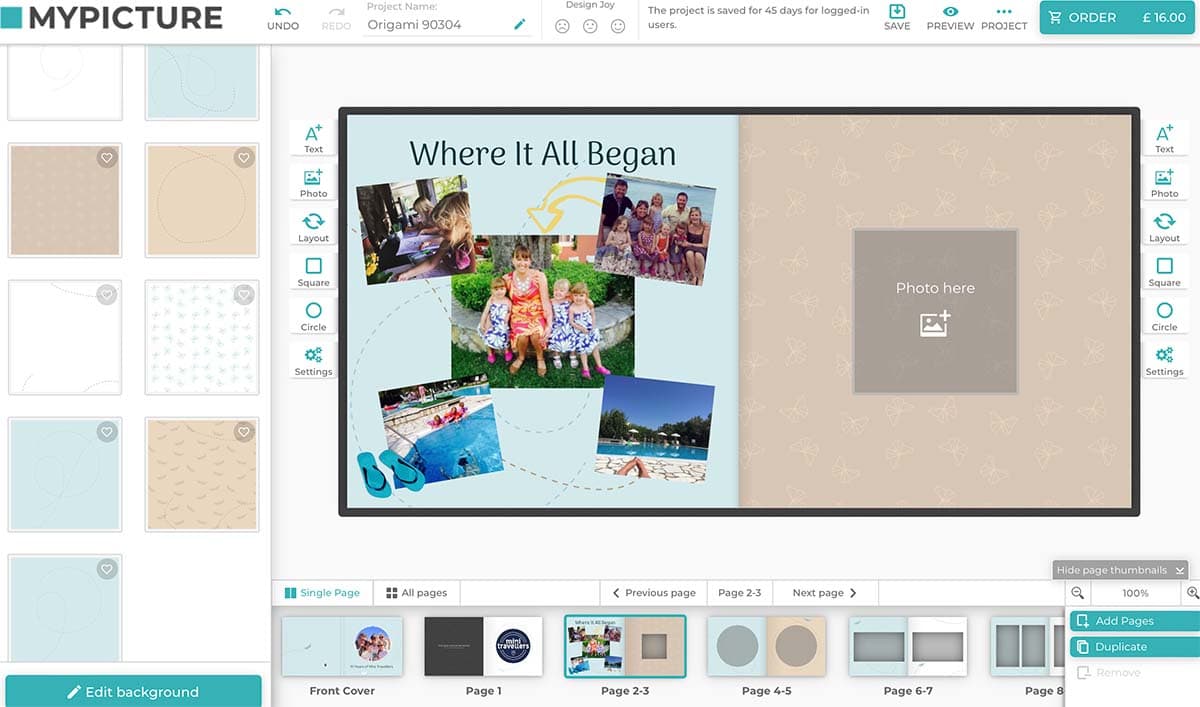
I worked out a date order for Mini Travellers book and then jotted down some of the trips that were key memories on their journey, then put placeholders on each page. I used the text tool to put the name of the trip on each page, and for most trips, I added a two-page spread to really share each trip’s memories.

4. Remeber You Can Always Add More
Your book will have a set number of pages, but you can always add more. If you have missed an event in the first half of your book don’t re-arrange; just pop two pages in. I did this several times. As you start to recall memories, more come to mind.
Include maps to show your travel route or highlight key locations. Scan and include tickets, brochures, and other travel memorabilia and add clip art or icons that match your theme. There is a vast choice of clip art to add details that fit your theme, personality and memories.
5. Don’t Rush
Don’t rush the process. Enjoy building the book and get lost in the memories. Take your time to ensure every detail is perfect and that the book truly represents your holiday experience. And double check it on a preview a few times before you comit to the order. Changes are easy to make.

Memories Are Worth Saving
Curating memories is one of those jobs we always put off until tomorrow; however, the process is actually very therapeutic. And the outcome is so worth the time spent.